You’ve finished writing, the edits are done, and you’re ready to turn your manuscript into a real book. Before you send it for formatting, a little preparation goes a long way. A clean file means a faster turnaround, fewer revision rounds and a more accurate final layout.
Here’s what we recommend every author does before formatting starts.
1. Finish editing first
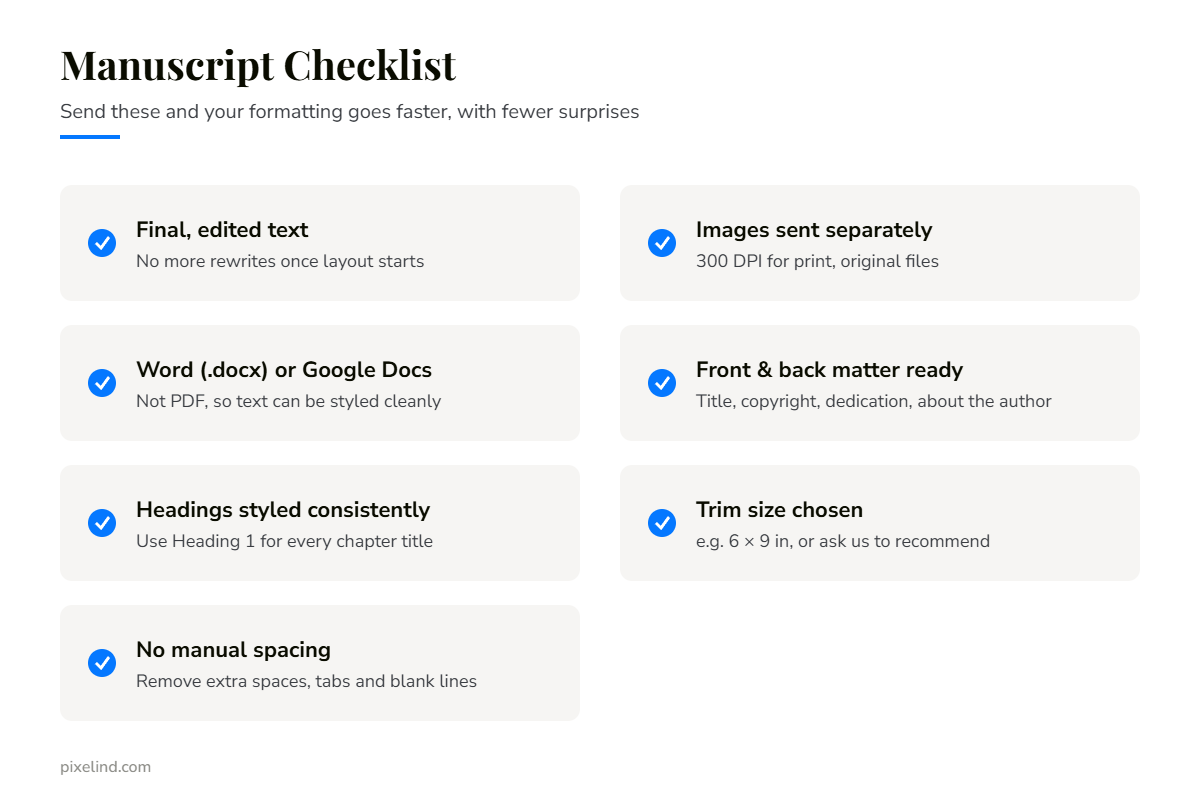
Formatting should be the last step before publishing, not the middle of the process. Every sentence you add or remove after layout can shift page breaks, change your page count and even change your cover’s spine width. Make sure your text is final: edited, proofread and approved.
2. Send a Word or Google Docs file
A Word (.docx) or Google Docs file is the best starting point. Avoid sending a PDF of your manuscript, because text in a PDF is hard to restyle cleanly. If you write in Scrivener or another app, export to .docx.
3. Style your headings consistently
Use the same style for every chapter title, ideally Word’s built-in Heading 1. Consistent headings make it easy to build an accurate table of contents and a clickable eBook navigation menu.
4. Remove manual formatting
Many manuscripts are full of invisible formatting that causes problems later. Before sending your file:
- Remove double spaces after full stops.
- Don’t use tabs or spaces to indent paragraphs.
- Don’t press Enter repeatedly to start a new page. Use a page break instead.
- Mark scene breaks clearly, for example with three asterisks (***).
5. Prepare your front and back matter
These pages are easy to forget, but every professional book has them. Collect the text for:
- Front matter: title page, copyright page, dedication, epigraph and table of contents.
- Back matter: acknowledgements, about the author, other books by you, and a call to action such as joining your newsletter.
6. Send images separately
If your book includes photos, illustrations, charts or tables, send the original image files separately rather than only pasting them into Word. For print, images should be at least 300 DPI. Name them clearly (for example, chapter-3-map.jpg) and mark in the manuscript where each one goes.
7. Choose your trim size
Your trim size, the physical size of your book, affects page count, printing cost and layout. If you’re not sure which size suits your genre, read our guide to Amazon KDP trim sizes, or ask us to recommend one.
8. Note anything special
Tell your formatter about anything unusual: footnotes or endnotes, poetry, letters or text messages within the story, recipes, workbook exercises, or fonts you’d like to use. The more we know up front, the closer the first draft will be to what you imagine.
A quick final check
Before you hit send, read through your file one last time and ask: is this the version I want printed? If the answer is yes, you’re ready for formatting.
Ready to format your book?
Send us your manuscript and we’ll show you how it can look as a professionally formatted book, before you pay anything.
Request a free formatting sample or book a free 30-minute call.